Build Your Own Bluetooth-Controlled RC Car: A Step-by-Step Guide
Creating a remote-controlled car is a classic DIY tech project that combines mechanical assembly, electronics, and coding. In this guide, we will walk through the entire process of building a 4-wheel drive (4WD) robot car that you can control right from your smartphone.
Components Needed:
- 4WD RC Car chassis kit.
- 65MM wheels (4 nos.).
- 4 BO motors (200RPM)
- Arduino Uno with cable.
- L293D Motor Driver Shield.
- HC-05 Bluetooth module.
- 18650 Li-ion Battery (2 nos.).
- 18650 2-cell Battery Holder.
- Jumper Wires.
- Tools: Screwdriver.
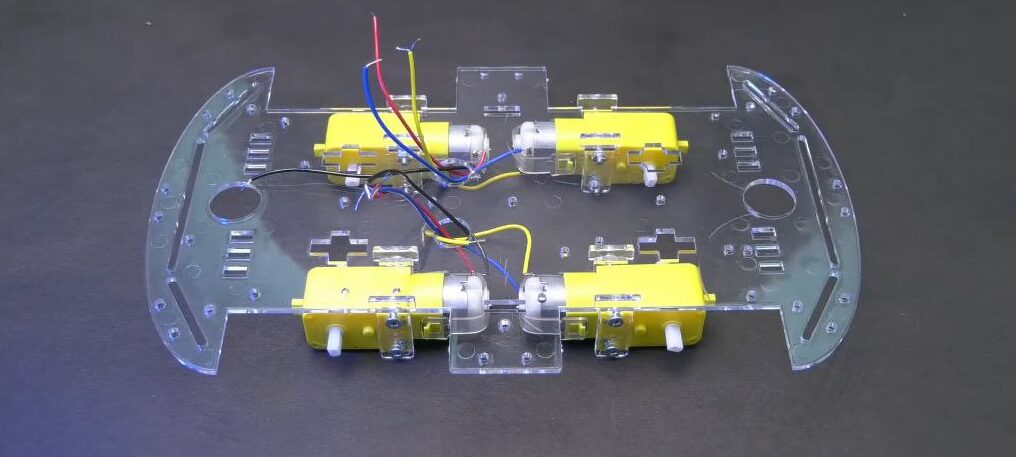
Step 1: Assemble the Chassis
First of all, we will mount the motors to the chassis. Use the provided plastic T-brackets and long screws with nuts to firmly secure each motor to the chassis. Ensure the white motor shafts are pointing outward. Do this for all four motors until they are firmly attached to the bottom plate.
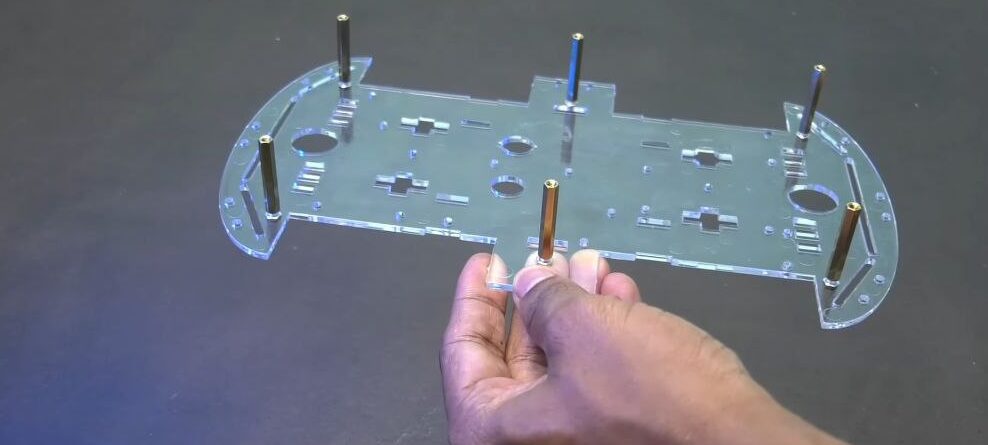
Step 2: Install the Upper Plate Standoffs:
Attach copper standoffs (spacers) to the bottom chassis. These will hold the second acrylic plate and provide space for the wiring. Now place the second acrylic plate over the standoffs and secure it with screws.
Step 3: Install Arduino UNO:
Fix the Arduino Uno board with a double-sided tape onto the centre of the chassis in such a way that the USB port of the Arduino is towards the left-side.
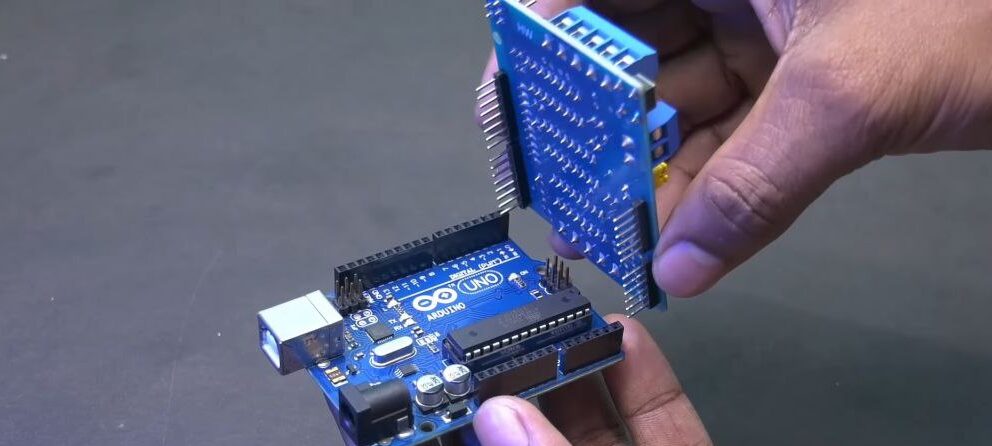
Step 4: Install L293D Motor Driver Shield:
Align the pins of the L293D Motor Driver Shield with the headers on the Arduino Uno and press down firmly to stack them.
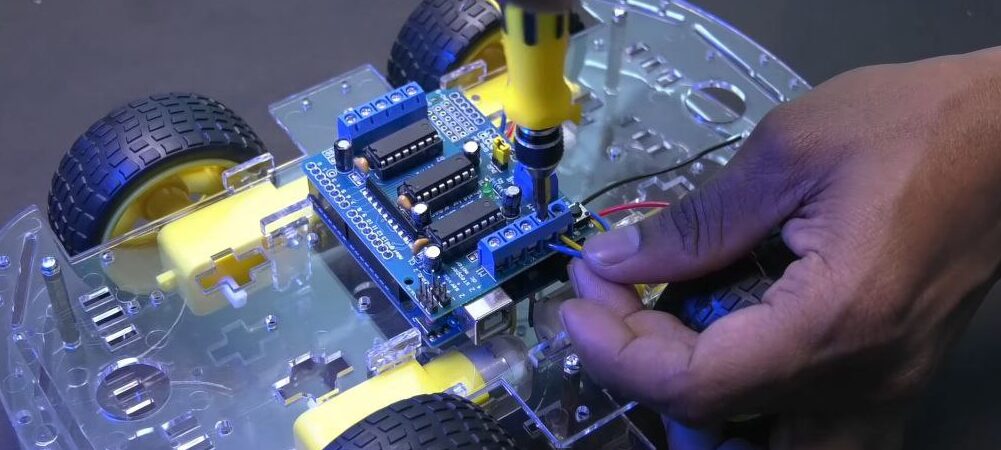
Step 5: Wiring the Motors to the Shield:
The motor shield has terminal blocks labelled M1, M2, M3, and M4. Now, use these terminals to insert the wires from each motor:
- M1: For the front left motor.
- M2: For the rear left motor.
- M3: For the front right motor.
- M4: For the rear right motor.
Use a small screwdriver to tighten the terminal screws so the wires are secure.
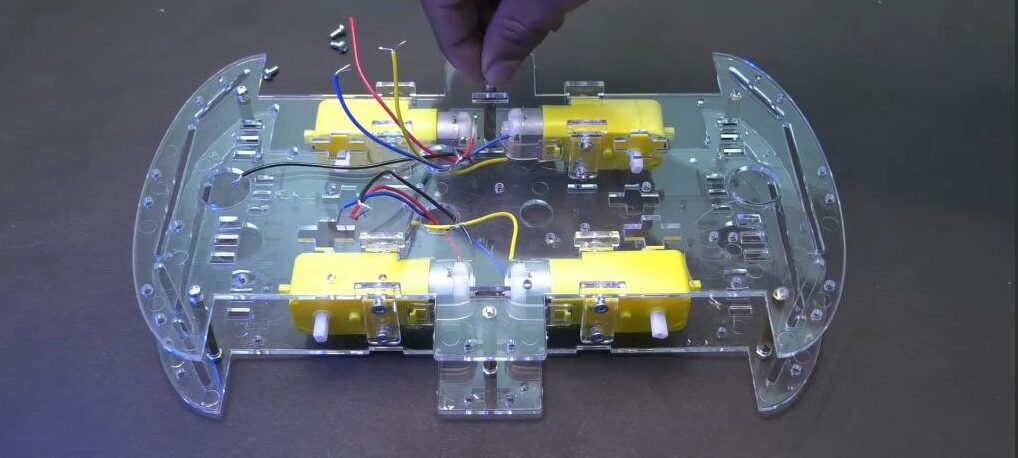
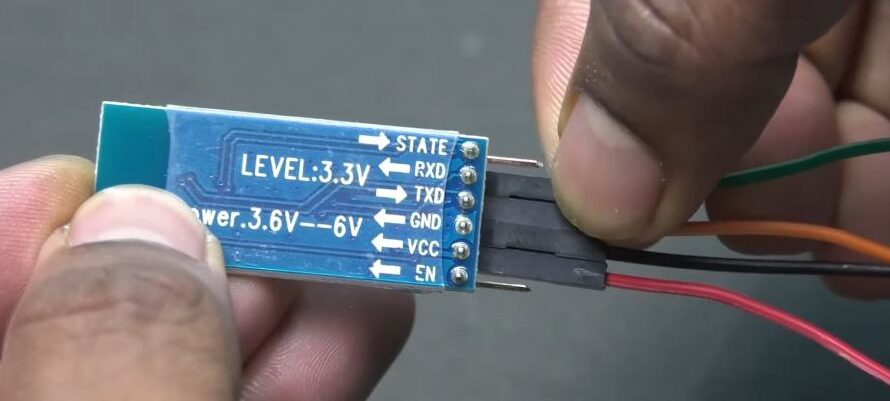
Step 6: Integrating the Bluetooth Module (HC-05)
Connect four jumper wires to the Bluetooth module pins: VCC, GND, TXD, and RXD. Now, connect the other end of the wires to the motor driver as below:
- VCC to +5V on the shield.
- GND to GND.
- TXD (Module) to a digital pin.
- RXD (Module) to a digital pin.
After wiring is done, fix the Bluetooth module using a double-sided tape as shown.
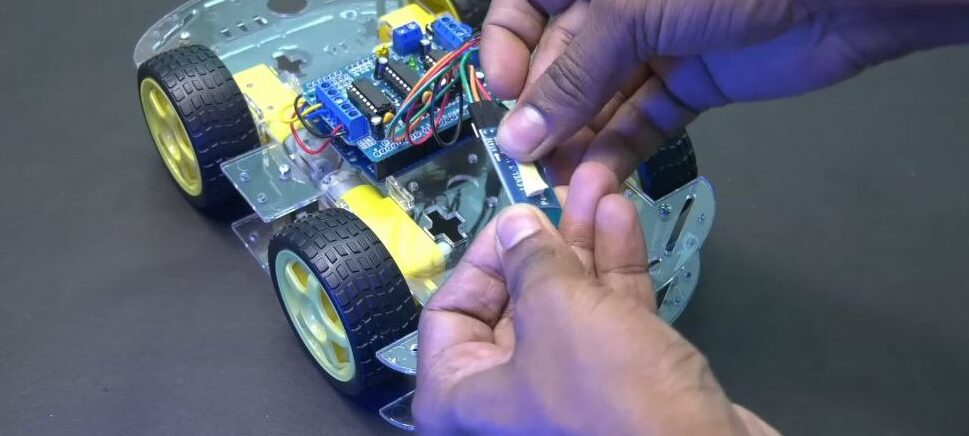
Step 7: Powering the System:
- Put the switch in the battery holder to OFF position. Now, fix the 18650 Li-ion battery to the battery holder.
- Fix the battery holder to the chassis by using a double-sided tape.
- Connect the battery wires to the Motor Driver Shield in a following manner:
- Red wire to M+.
- Black wire to GND.
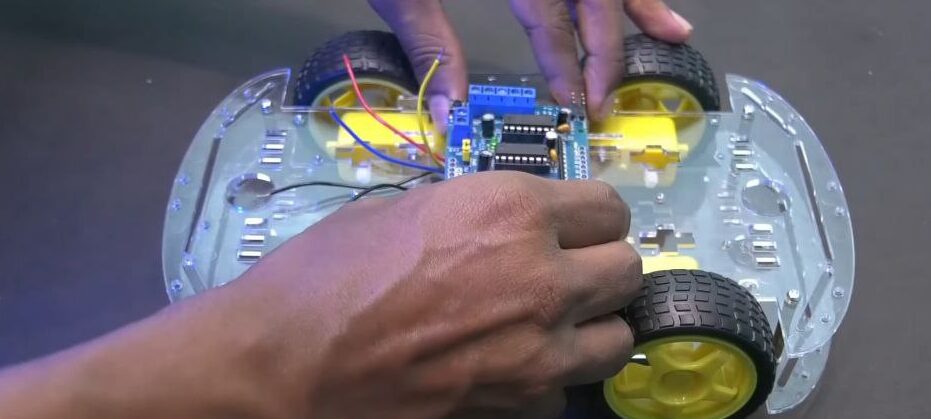
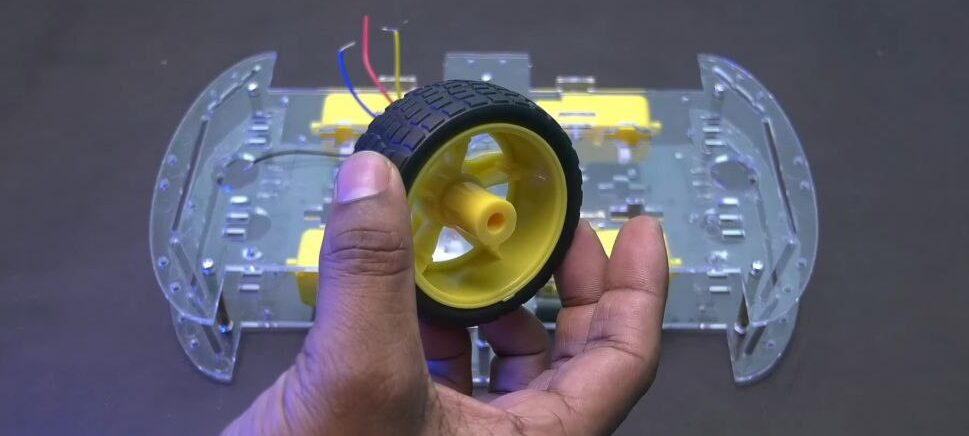
Step 8: Fixing the Wheels:
Match the shape of the motor shaft with the wheel and accordingly fix all the 4 wheels to the motor shaft. Use the images given below for reference.
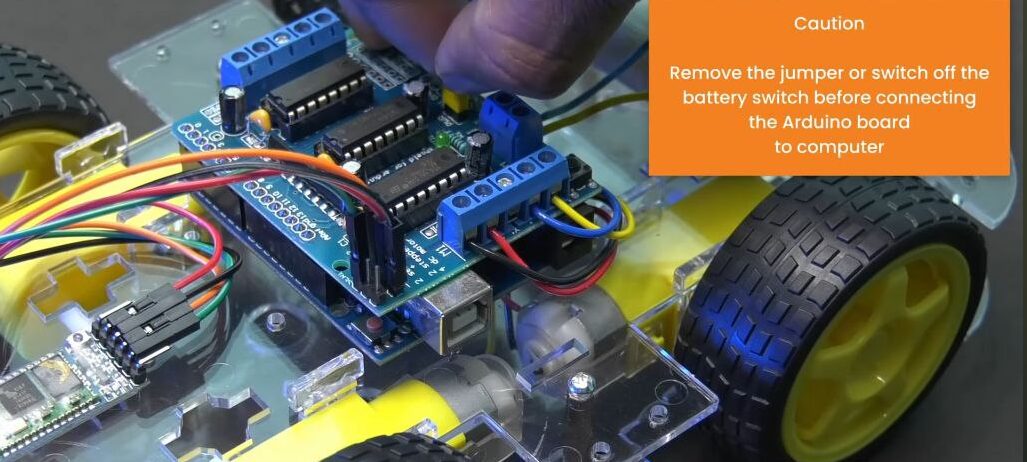
CAUTION: Remove the power jumper (usually labelled “PWR”) from the motor shield if you are using an external battery to power the motors while the Arduino is connected to the computer via USB. This prevents damage to the computer.
Step 7: Programming and App Control:
- Connect the Arduino to your PC via USB. Now, Install and open the Arduino IDE.
- In Arduino IDE, Go to Tools > Library Manager. In Library Manager, Search for Adafruit Motor Shield V1 Library and install it
- Installing CH340 Serial Driver: Click Here to download the driver. Then install the same.
- Download Code: Open the link to download the code file.
- Upload Code : Go to Tools > Board >Arduino AVR Boards > Arduino Uno. Now, Go to Tools > Port. Then select the port in which the Arduino UNO board is connected. NOTE: You have to select the newly added port.
- Now click the upload button to upload the code.
- Now the RC Car is ready. Disconnect the USB cable and then turn ON the battery switch.
- Download a “Bluetooth RC Controller” app on your smartphone.
- Open your phone’s Bluetooth settings and pair with “UtGoTech HC-05.” Use the PIN: 1234.
- Open the app, connect to the module “UtGoTech HC-05”, and use the on-screen arrows to drive your car!