Build Your Own Obstacle Avoiding Car: A Step-by-Step Guide
Have you ever wanted to build your own robot that can navigate its surroundings independently? In this project, we’ll create a 4-wheel drive, obstacle-avoiding car using an Arduino UNO and an ultrasonic distance sensor. Let’s get started!
Components Required
- 15cm x 12cm hard sheet for the chassis (Wooden ply, acrylic or ACP)
- 1x Arduino UNO Board with cable
- 1x L293D Motor Driver Shield
- 1x HC-SR04 Ultrasonic Sensor
- 1x SG90 Servo Motor
- 4x BO Motors
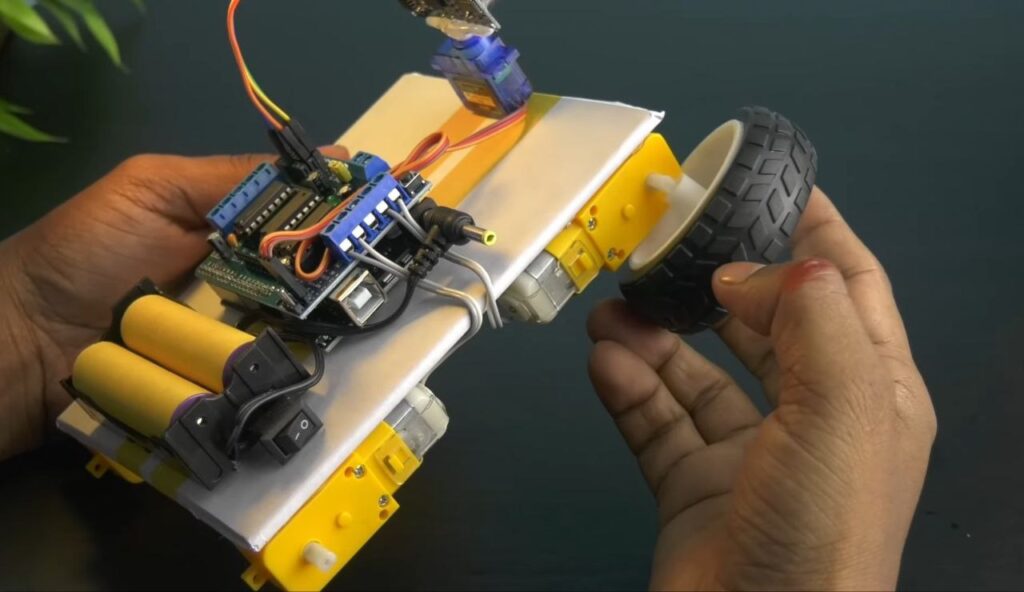
- 4x Wheels (65mm)
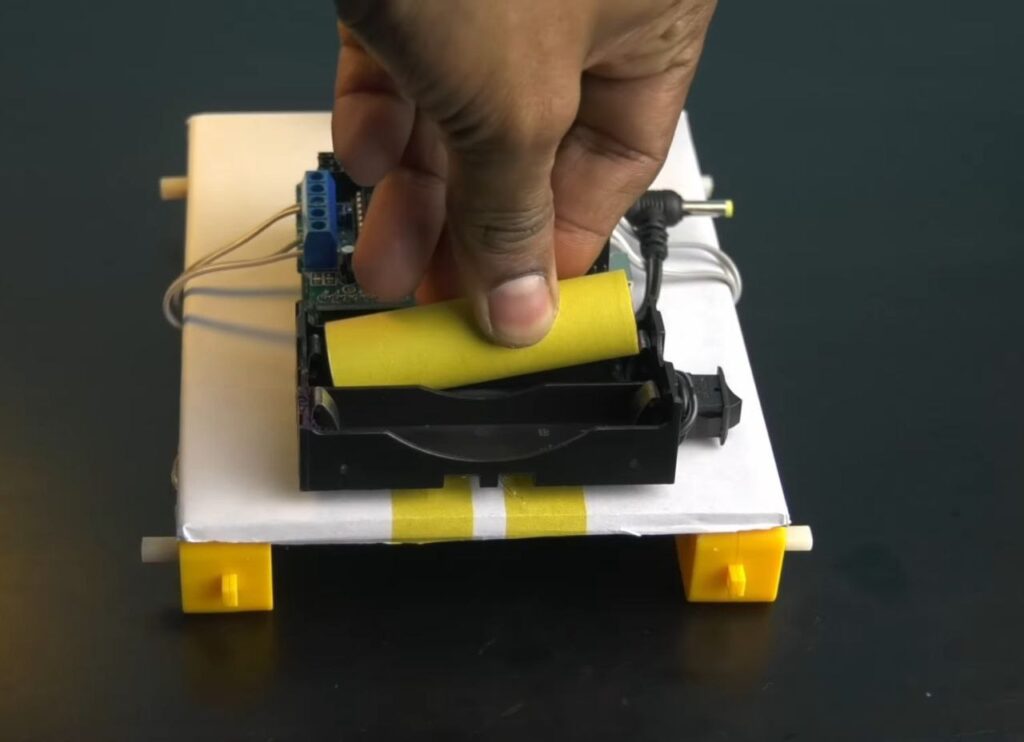
- 2x 18650 Li-ion Batteries
- 1x 18650 2-cell Battery Holder
- Jumper wires
- Tools: Hot Glue Gun and a Screwdriver
Step 1: Preparing the Chassis
- Start with a 15cm x 12cm hard sheet. You can use a wooden ply, acrylic sheet or an ACP sheet.
- Clean the surface of the sheet and, if you’d like, apply a decorative film or sheet for a cleaner and more professional look.


Step 2: Mounting the Motors
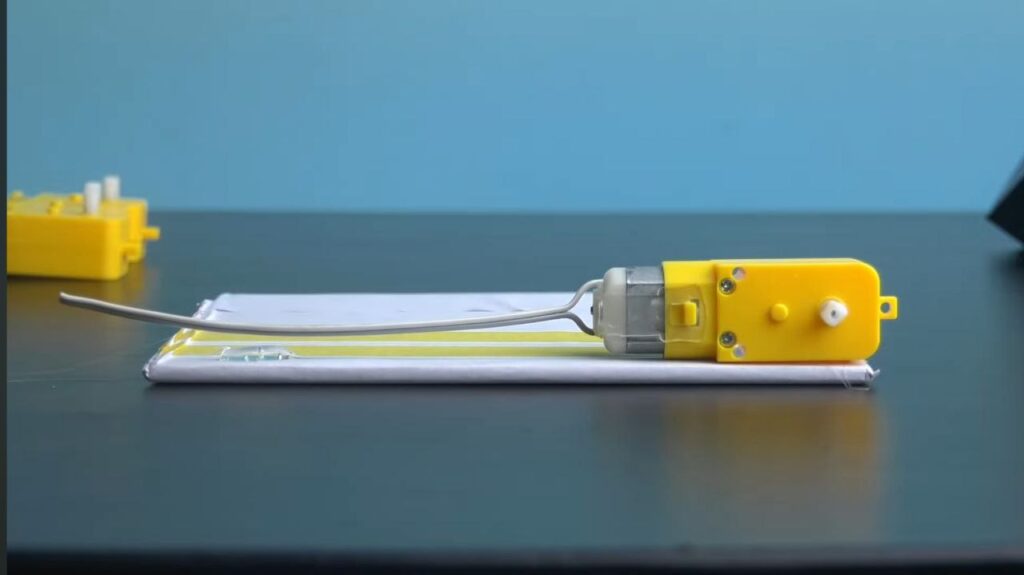
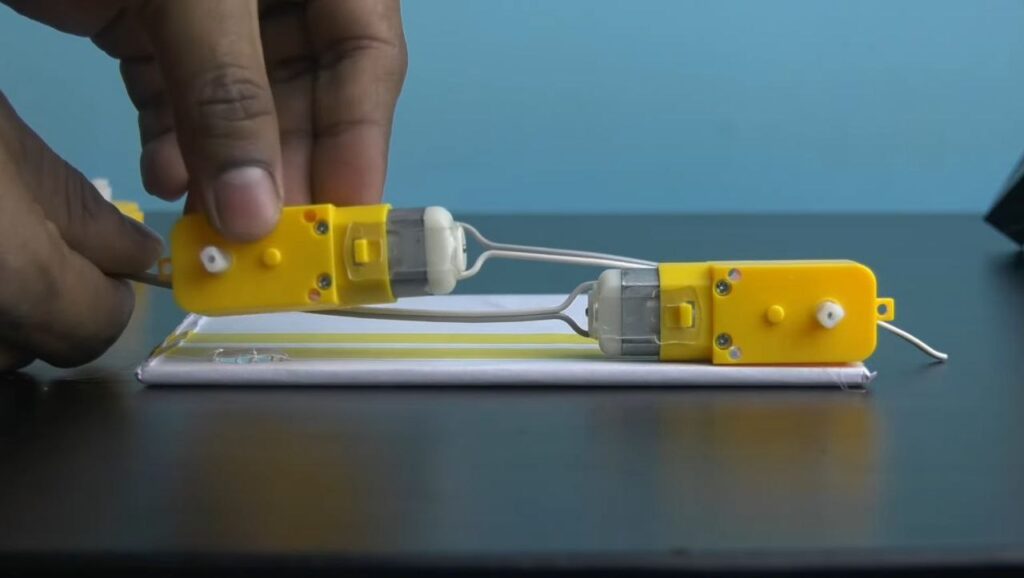
- Apply hot glue to the four corners of the bottom of your cardboard chassis and press the BO motors into the glue, ensuring they are aligned straight and spaced evenly.
NOTE: Remember that the face of the motor shafts should be outward so that the wheels have plenty of clearance.
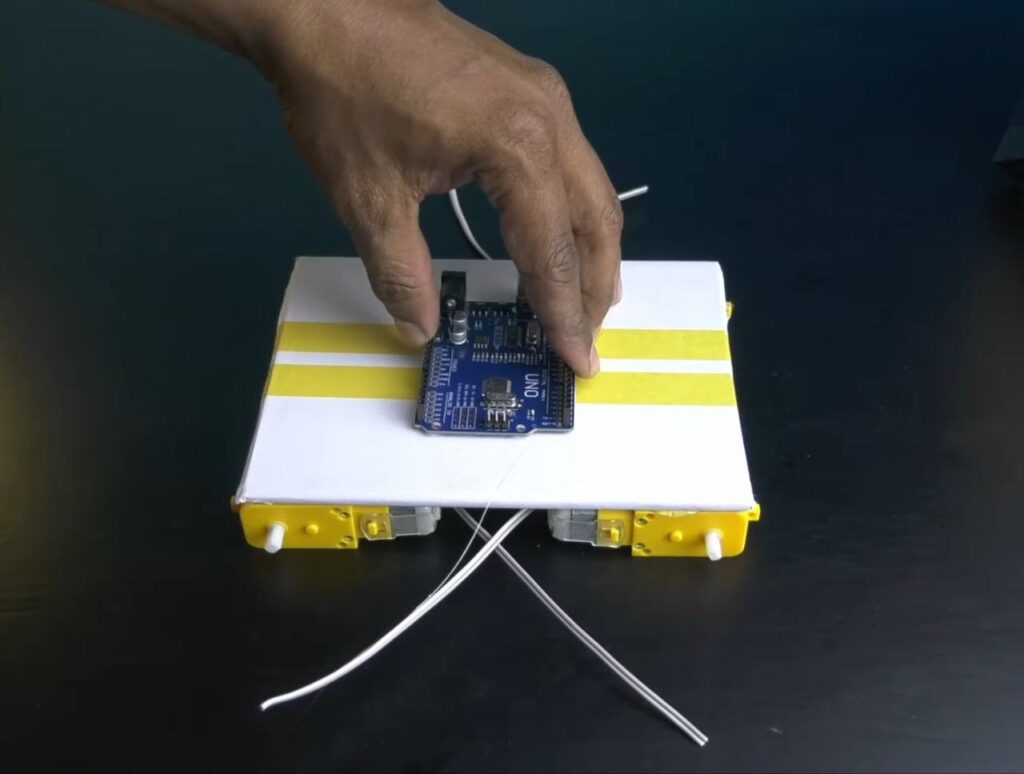
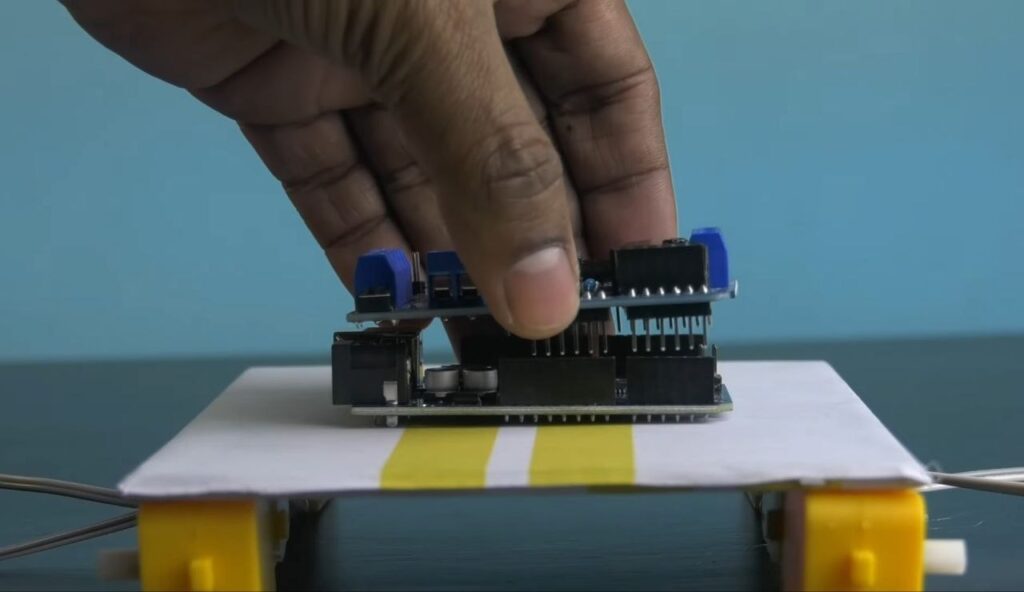
Step 3: Mounting the Arduino and Motor Driver
- Flip the chassis over and use hot glue to mount the Arduino UNO firmly in the centre.
- Mount the L293D motor driver shield on top of the Arduino Uno by carefully aligning the pins.
Step 4: Connecting the Motors
- Connect the wires from each of the 4 BO motors to the terminals on the motor driver shield.
NOTE: Follow the labels on the shield (M1, M2, M3 and M4) to ensure each motor is correctly connected.
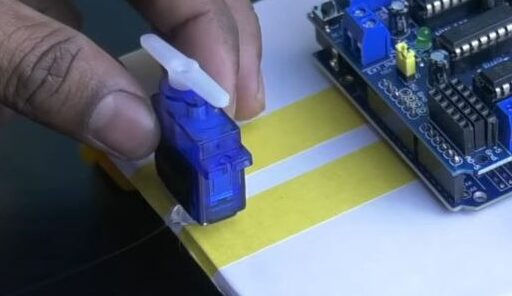
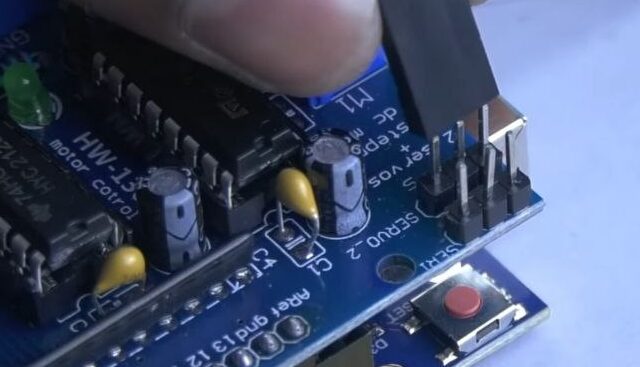
Step 5: Install the SG90 Servo Motor
- Take the SG90 Servo Motor and position its arm in the centre. Now, use hot glue to fix the servo motor onto the front of the chassis as shown in the image.
- Connect the servo motor cable to Servo_2 pin header on the motor driver shield.
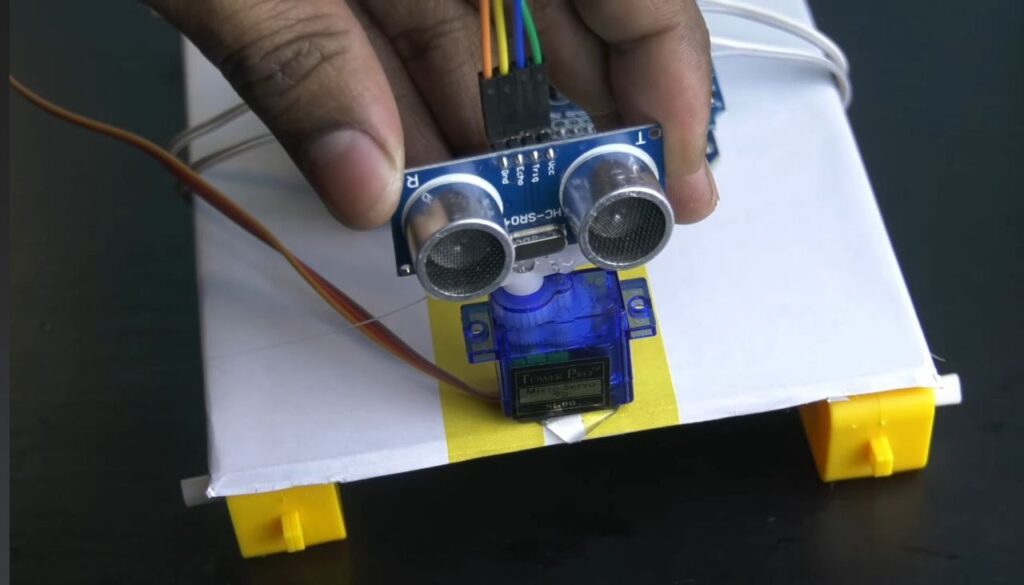
Step 6: Setup the Ultrasonic Distance Sensor
- Connect jumper wires to the 4 pins of the HC-SR04 ultrasonic distance sensor.
- Mount the sensor onto the servo motor arm using hot glue as shown in the image.
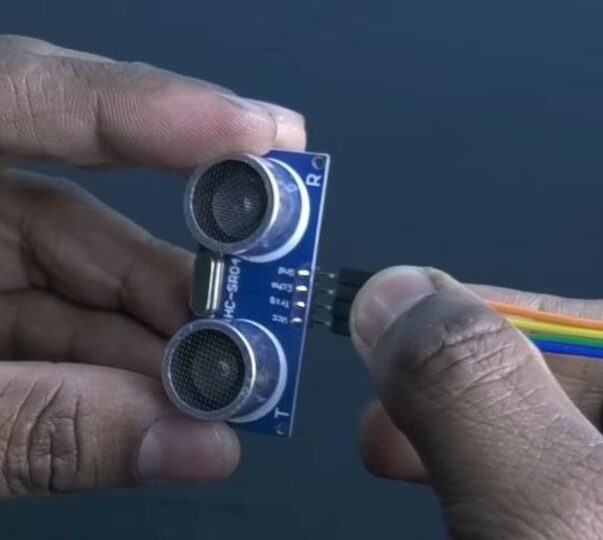
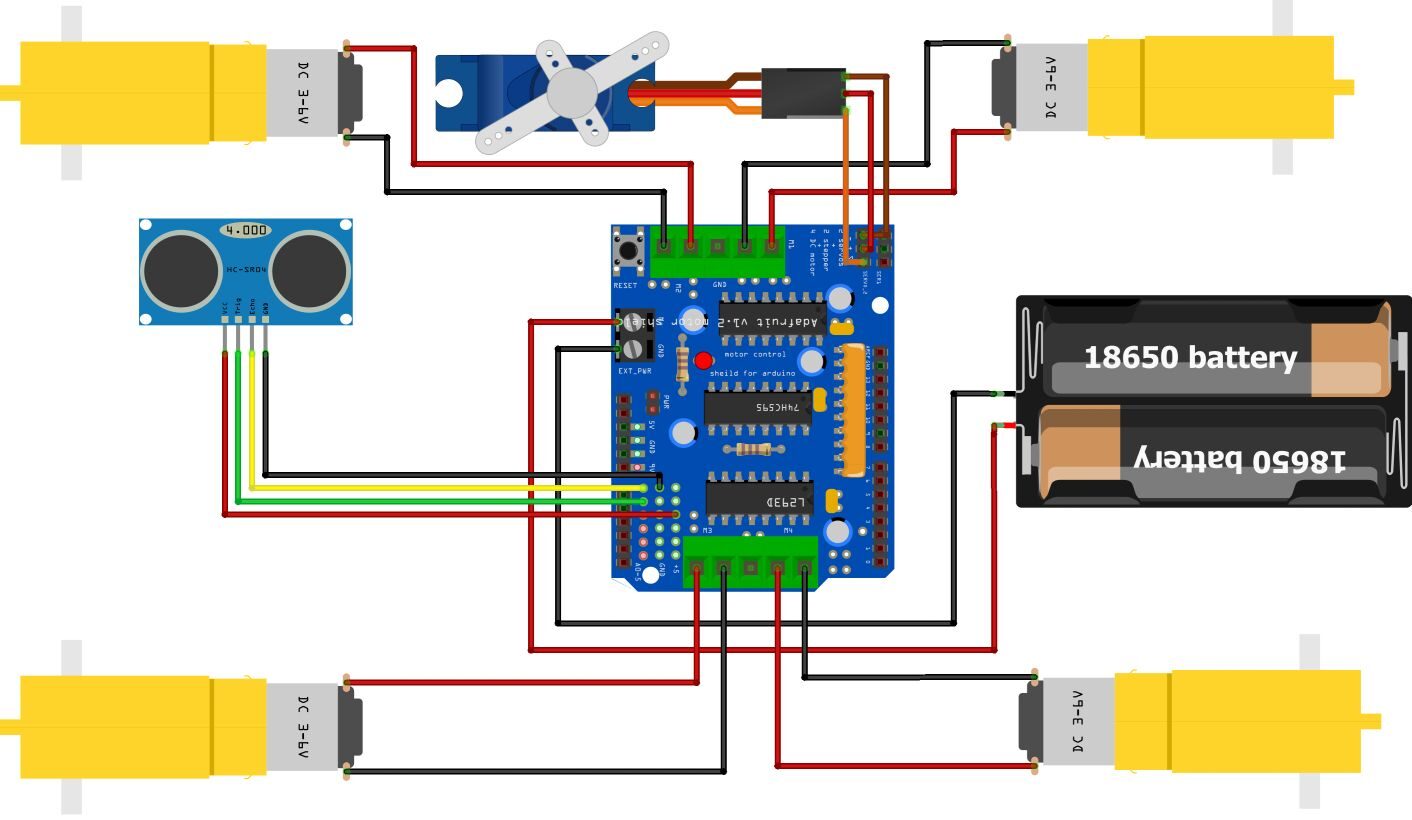
- Connect the other jumper wires to the motor driver shield as indicated:
- VCC: 5V
- GND: GND
- Trig: A1
- Echo: A0
NOTE: Refer to the Circuit Diagram for further reference.
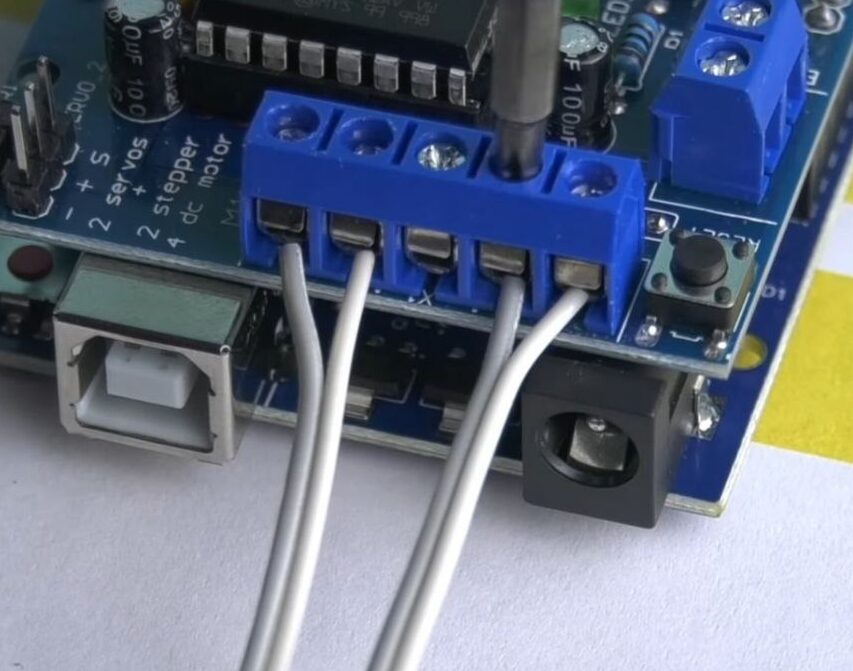
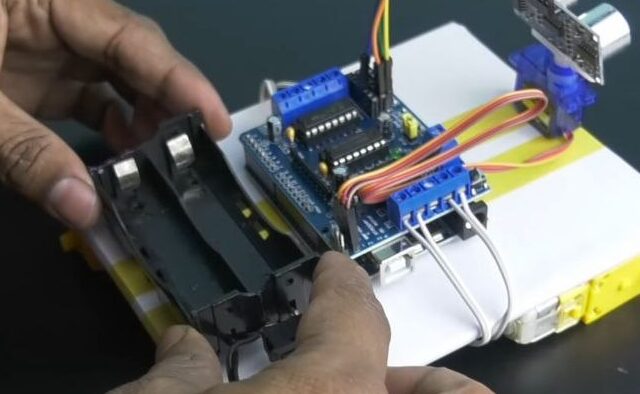
Step 7: Fix the Battery Holder
- Take the 18650 battery holder and fix it towards the rear end of the chassis using hot glue.
- Connect its power leads to the power input on the motor driver shield.
Step 7: Programming the Car
- Connect the Arduino UNO to your computer via the USB Cable and open the Arduino IDE in your computer.
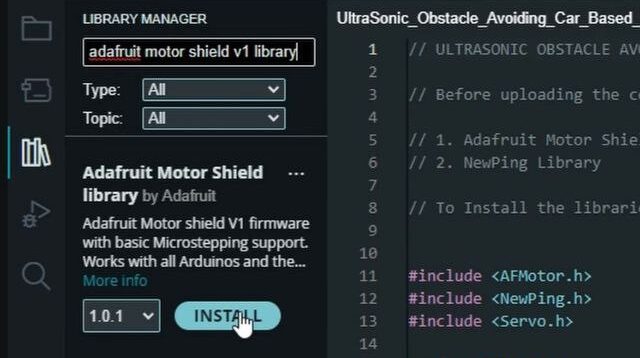
- Before uploading the code, You’ll need to install two libraries:
- Adafruit Motor Shield v1 Library.
- NewPing Library.
To install, go to Tools -> Manage Libraries. Then search for each by name and click Install.

NOTE: Ensure you select the correct board (Arduino UNO), port and programmer before uploading the code.
- Upload the code provided here.
- Once the code is successfully uploaded, disconnect the USB cable.
Step 8: Final Assembly and Power-Up
- Firmly press all the 4 wheels onto the motor shafts.
- Insert two 18650 Li-Ion batteries onto the battery holder and power up the car using the switch on the battery holder.
SUCCESS!
Your obstacle-avoiding car is now ready! Watch as it autonomously navigates its environment to sense and avoid objects in its path.